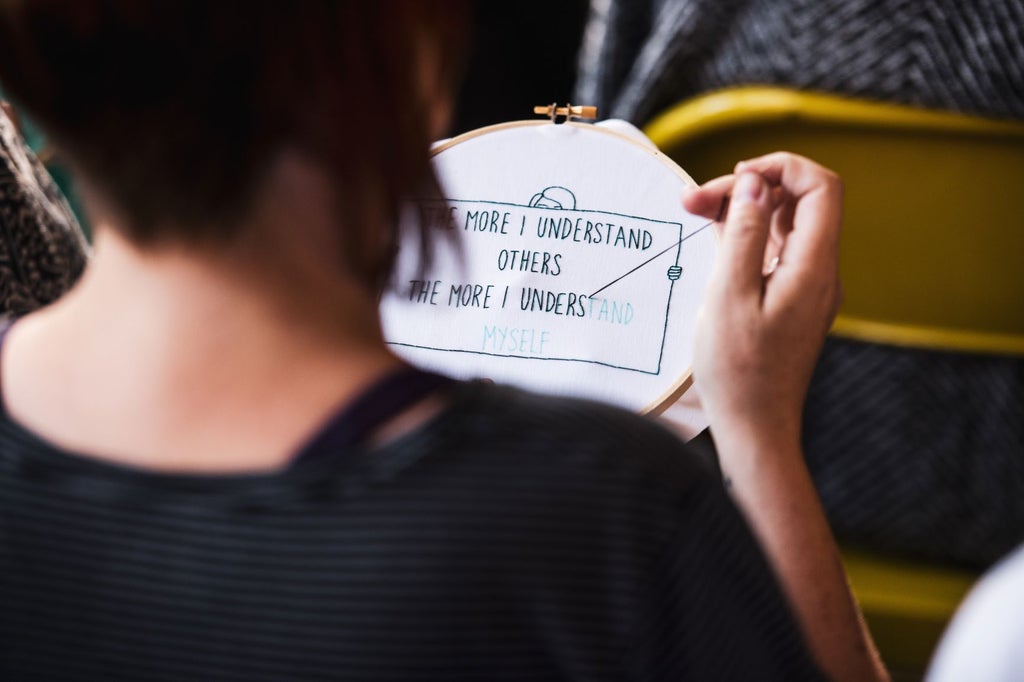
Now more than four months into quarantine, you’ve likely tried many at-home activities, from learning how to tie-dye to working out to your mom’s old Jane Fonda tapes (if only for the ‘80s fashion inspiration). The latest one having a moment? Embroidery.
This isn’t the first time that the art of stitching has seen a rise in popularity. Following Donald Trump’s win in 2016, a feminist stitching movement commenced, with women like Diana Weymar — an artist from British Columbia, who founded the Tiny Pricks Project to keep physical records of the ludicrous things that the President says and tweets — Shanon Downey — a Chicago-based needleworker of embroidery website Badass Cross Stitch — and more putting needle to fabric to air grievances and make their positions known.
It makes sense, not only is it extremely cathartic to jab at fabric with a needle a couple thousand times when angry or frustrated, but embroidery also allowed people to step away from their phones and create something that they did have control over. “Stitching fills the need that we all seem to have these days to be on our devices,” Downey says. “When you are stitching, you are using your hands in the same way that you might use your mobile devices. You’ll hardly notice that you put down your device.” Ahead of another election, and in the midst of the quarantine, it’s really no wonder that we’re picking up a needle and thread — or, as needleworkers call it, floss — once again.
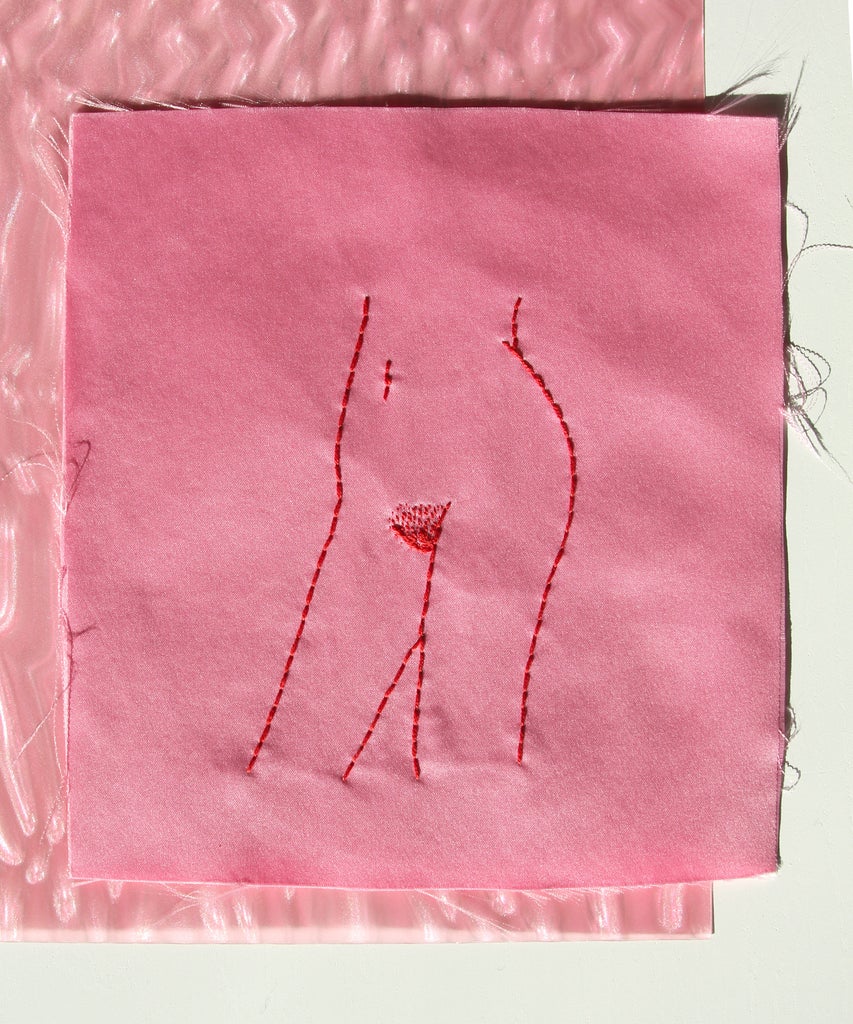
Before any vagina-shaped or “I am a very stable genius” stitchings can commence, though, one needs to learn the basics of embroidering. Ahead, we put together a step-by-step guide to mastering the backstitch with tips from Downey herself — and Badass Cross Stitch’s detailed online tutorials.

Step 1: Purchase embroidery materials
To start your crafts journey, you’ll need to first purchase some embroidery tools. You’ll need an embroidery hoop, which ranges in size from one inch to 20-plus inches in diameter and can be found in plastic or wood. For beginners, it’s best to stick with a hoop that’s easy to handle, like this six-inch hoop. Once you’ve gotten the hang of things, you can move to bigger or smaller hoops.
You’ll also need to pick and purchase material to stitch on. While any fabric will work, from linen to cotton, your best bet is an embroidery fabric, as it’s easy to work with as a beginner and comes pre-made with lines that make stitching more precise. According to a tutorial on Downey’s website, light fabrics work best, because they make it easier to transfer patterns. Downey also suggests purchasing a tapestry needle (round-headed needle with a large eye that simplifies threading the needle), two pairs of scissors (one big and one small for fabric and thread, respectively), a disappearing ink pen for drawing on patterns, and a thread.
Step 2: Hoop the fabric
Once you’ve found a hoop that’s to your liking, separate the outer and inner circles by loosening the screw on the outer circle. Next, place the inner circle underneath your fabric of choice on a flat surface. Then, place the outer circle on top of the fabric and tighten the screw until the fabric is taut.
Step 3: Pick the pattern
If you, like me, wouldn’t check “artist” off on a list of potential career paths, this is about when you should log onto Google. Free online patterns are readily available— just type in “free embroidery patterns” and scroll through the search results until you find what you’re looking for. But, as Downey says, always credit your sources.
There are also plenty of online embroidery stores you can get patterns from. If you’re looking at Etsy, Create The Culture shop is a great place to start, with designs featuring Solange and Beyoncé (plus embroidery kits which include everything you need!); some of our other favorites include Femme Thread Online, Thread The Wick, and Stitch With Skye. Embroidery brand DMC is also a great resource for free patterns, from lightheaded choices like corgis and spritzes to designs touching on feminism and climate change.
Downey herself offers free patterns on her website (one of which reminds to wash hands and not be racist!). She also shared her personal go-tos for patterns: Social Justice Sewing Academy, Subversive Cross Stitch, StephXStitch, UtopianFallopian, BeingBlount, Raquelitaw, and RowdyCorazon.
Step 4: Trace the pattern onto the fabric
Once you’ve got your pattern picked out, place a light source of some sort (windows work well) behind your pattern and trace the design onto the back side of the fabric using a disappearing ink pen. You’re now ready to get stitching.
Step 5: Thread the needle
Downey makes this step look easy. In her Let’s Stitch tutorial, she will take you through the following steps:
Grab the dangling thread on your floss bundle, pull around three feet of floss out, and cut it. Divide your floss into two equal strands (there should be six individual strands altogether), and slowly pull them apart. After threading one strand of separated floss through the eye of your needle, let one side of the string run long, and another run short, say five inches. Take the long end and make a knot.
Step 6: Start stitching
There are several stitching processes. For a more simple one like a backstitch, start anywhere on your pattern, thread the needle from the back side of the fabric to the front and pull gently, bringing the fabric all the way until the knot catches in the back. From there, move a centimeter (~.4 inch) over on the pattern and thread it back down. As you did with the first stitch, thread the needle through the back of the fabric — a centimeter, again, down from the last stitch — to the front of the fabric. Then, move backward, threading it back through the second hole that you just completed, so the line continues without gaps.
For cashmere stitches, queen stitches, cross stitches, and more, head to BadassCrossStitch.com.
Step 7: Rethread the needle
Eventually, the thread will run out. When that happens, simply finish your stitch, thread the needle underneath the line of stitchings on the back side of the fabric, and tie it in a knot. Then, rethread the needle, per instructions in step five, and get back to embroidering.
Once you’re all finished, release the fabric from the hoop and do with it as you please. Some options include framing the embroidery, cutting it out and sewing it onto clothing or accessories as a patch, or making it into a pillow — perhaps one with Solange’s face on it. Just remember to credit whoever was responsible for your pattern when sharing your work.
Like what you see? How about some more R29 goodness, right here?
How To Get The Perfect Tie-Dye Every Time
Lingua Franca Is Taking A Stand
Exactly How These Embroidered Tattoos Look So Real
0 comments:
Post a Comment